
|
|
|
Pen Mill |

Edge Angles

Edges Ground
Guidelines shown below are for the Bevels’ Angles. The ground edges are shown in the picture to the right as red.
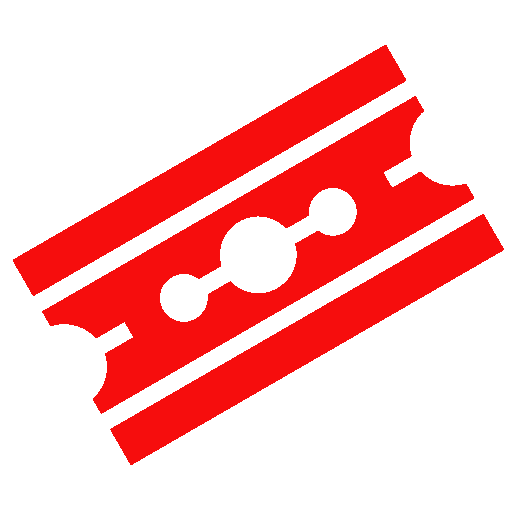
The leading edges of the cutting surfaces must be coplanar. As shown in the picture to the left, this is the edge next to the flat side, not the angled or curved side. This ensures that all four cutting edges engage with the flat surface of the wood at the same time. (If the pen blank's surface is not perpendicular to the tube, it will be after milling it down.)
The side edge angle of the cutting surfaces must be perpendicular to the axis of rotation. This ensures a flat surface for the pen's end. If it is not perpendicular, the surface left will be conical (either convex or concave).
|
You will find something more in woods than in books. Trees and stones will teach you that which you can never learn from masters. Saint Berna |
|
General Guidelines |
||||
|---|---|---|---|---|
| α | β |
Sharp
|
Notes |
|
| 10° | 90° |
|
||

Tool Holding for Sharpening
The tool should be held in a way where all four edges can be ground consistently. The black piece shown in the image to the left can be used with the 3D-printed goniostat.
Example icon
Sharpness scales (as shown in the grey icon to the left) are used to indicate the recommended sharpness for the blades noted above. You can click on any of the icons showing the sharpness scale and be redirected to the page describing this more. Lower numbers are duller; higher numbers sharper.
These are general recommendations; you will need to use your own judgment, based on the knive’s intended purpose.
