
|
|
|
Re-shaping the Folding Blade on Pocket Knives |
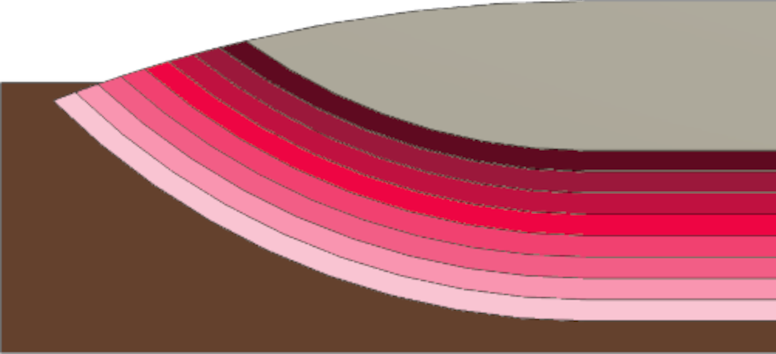
Image 1
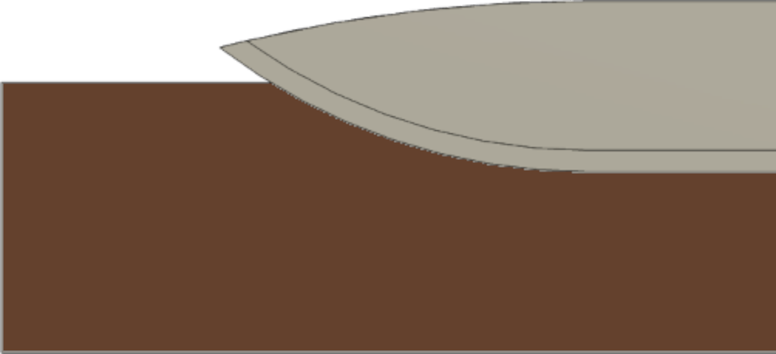
Image 2

Image 3
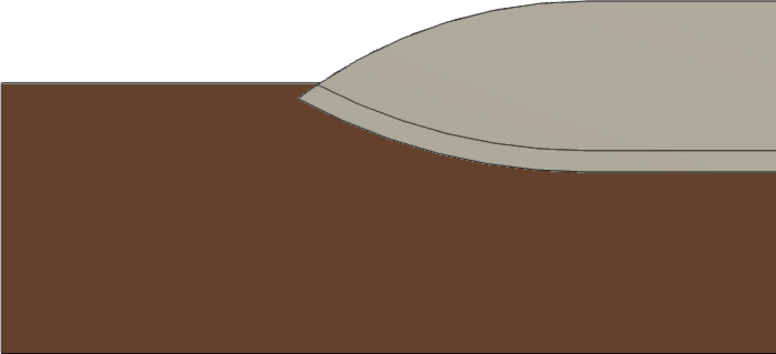
Image 4
Image 1: As the blade is resharpened over time, the blade's point will be raised. This is shown graphically in the image's progressively darker pink-to-red lines. Those lines show the metal being removed during the sharpening processes over time. And over that same time, the blade's point will be made to be above the knife's sides (the brown background) when the blade is closed into the handle. This is especially the case on drop point & spey point blades.
Image 2: This image shows the blade's point now above the knife's sides. This situation is problematic: I have pierced my thumb on the exposed point, and caught it on my trouser pocket.
Image 3: The solution to this problem is to reshape the top of the blade by grinding off some of the metal towards the blade's point. This is shown as the removal of the blue parts.
This picture shows a few things of note. Firstly, the 1st resharpening did not require a reshaping of the top as it did not take the blade's point above the side. But, as the blade is resharpened more, reshaping becomes also necessary. Maybe not every time, but certainly more than once.
Such steel removal (and repositioning of the blade's point) can often be the case when the blade requires great reshaping after damage to the cutting edge (e.g., when your father-in-law uses your knife to open a paint can).
With some drop point blades like the ones on a stockman pocket knife, this is a concave surface, so more care will need to be taken to ensure the resulting shape is good.
Image 4: After grinding down the top of the blade, the blade's point is now below the knife's sides.
The YouTube video from Tormek, Tormek Live Sharpening Class - Part 15. Repair a damaged knife, shows this process and the video is worth viewing if this process is new to you.
Safety Note: Be careful when grinding down the top of the blade. You cannot push down on the blade's cutting edge to make it happen.