
|
|
Garden Augers |

Edge Angle

Garden Auger with area highlighted for sharpening
Sharpening the top side of the auger's leading edge is generally recommended as this enables the auger to dig quite well. This is the area denoted in the red box in the picture to the left.
There is one design of the auger's screw threads I've seen where the cutting edge seems to take a sharp turn towards the bottom. In this case, it is recommended to sharpen the opposite edge.
In either case, the leading edge must be the lowest part of the helical screw thread which wraps around the axis.
Most of these augers are fully painted. Changing the leading edge's angle will surely expose fresh metal. Thusly, the notes below on Ongoing Maintenance should be followed.
|
You can bury a lot of troubles digging in the dirt. unknown |
A 6" smooth cut machinist’s hand file is useful to carry in your gardening tools box. Use it to resharpen the shovel as needed throughout the tool's usage for the day.
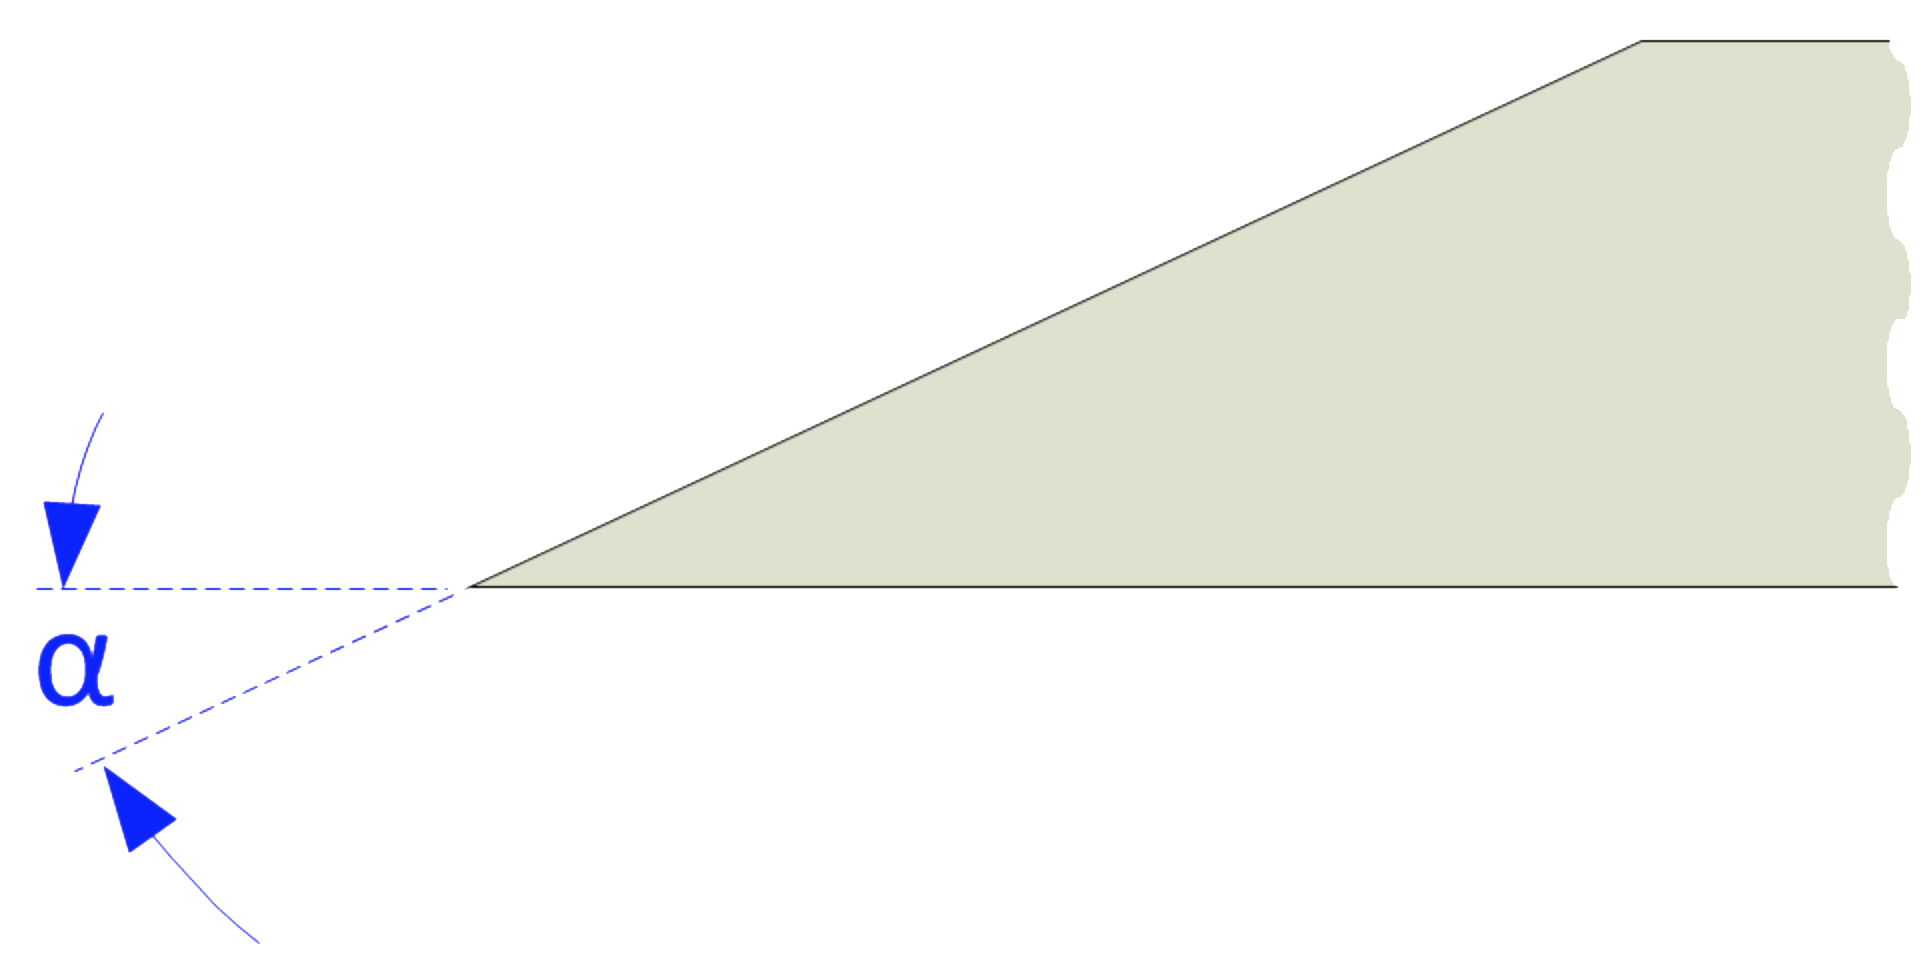
New garden augers often have an angle (α) of 90°. Therefore, initial shaping of the edge is to be expected.
A machinist’s hand file such as a 12-14" bastard file is often sufficient for this task.
If you use an angle grinder, consider using a 120 grit flap disc. A metal grinding wheel may be needed for large-scale shaping. In either case, be sure to not overheat the metal too much: it weakens the metal.
Use a machinist’s hand file.
Sharpness scales (as shown in the grey icon to the left) are used to indicate the recommended sharpness for the blades noted above. You can click on any of the icons showing the sharpness scale and be redirected to the page describing this more. Lower numbers are duller; higher numbers sharper.
These are general recommendations; you will need to use your own judgment, based on the knive’s intended purpose.